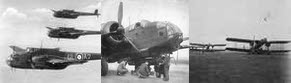
 Handley Page Aircraft
|
|
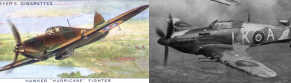 Hawker Hurricane and Sea Hurricane Gallery
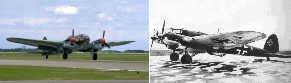 Heinkel He 111 Picture Gallery
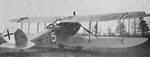 Halberstadt C.V from the right-rear
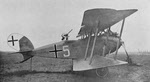 Halberstadt C.V from the right
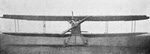 Halberstadt C.V from the front
![]() Hamilcar Glider with nose open
Hamilcar Glider with nose open
![]() Hamilcar Glider with Nose Shut
Hamilcar Glider with Nose Shut
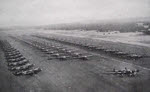 Hamilcar Gliders and Halifax tow aircraft, 1944
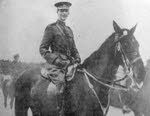 Sir Ian Hamilton inspects troops, Gallipoli
![]() Hampton Roads, battle of, 1862
Hampton Roads, battle of, 1862
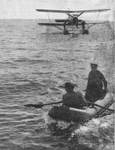 Heinkel He 60 and collapsible boat
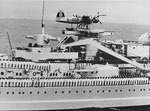 Heinkel He 114 on Gneisenau, 1938
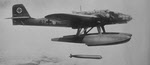 Heinkel He 115 dropping torpedo
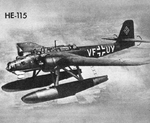 Heinkel He 115 VF+UY from the left
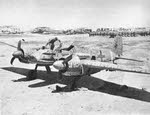
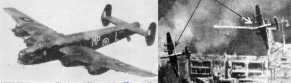
 Heinkel He 177 attacked on the ground
 Heinkel He 177A-5 in British Hands
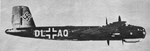 Heinkel He 177A-0 from the right
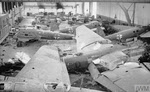 Wrecked Heinkel He 111s and He 177s, Schmarbeck
![]() Hellenistic World, 315-311 BC: during the Third Diadoch War
Hellenistic World, 315-311 BC: during the Third Diadoch War
![]() Hellenistic World, 307-301 BC: during the Fourth Diadoch War
Hellenistic World, 307-301 BC: during the Fourth Diadoch War
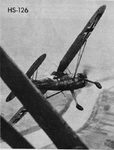
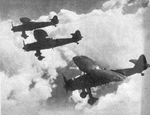 Formation of three Henschel Hs 126s
 Henschel Hs 126 from the front
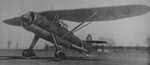
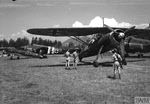 Henschel Hs 126B in Austria, 1945
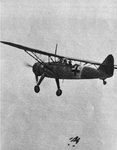
 Henschel Hs 126 banking to the left
 Henschel Hs 126 dropping bombs
 Henschel Hs 126 from the front
 Front view of Henschel Hs 129B-0
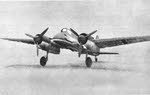
 Henschel Hs 129B-2 in North Africa
![]() Hill, Ambrose Powell, 1825-1865
Hill, Ambrose Powell, 1825-1865
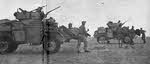 Humber Armoured Cars from the left, North Africa
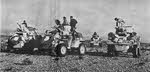 Humber Armoured Car Patrol, Libya
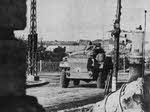 Humber Armoured Car in Pescara
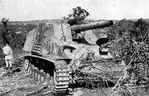 Hummel captured in Italy, 1944
![]() Hyposcope, or Land Periscope, 1914
Hyposcope, or Land Periscope, 1914
 Handley Page Halifax Gallery
 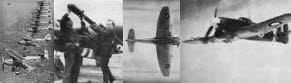 Hawker Aircraft
 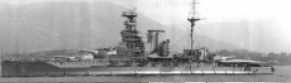 HMS Queen Elizabeth gallery
 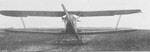 Hannover CL.II from the front
 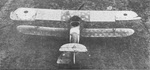 Hannover CL.II from above
 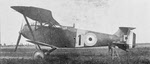 Hannover CL.II from the left
 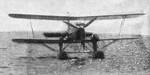 Heinkel He 60
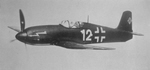 Heinkel He 100 from the left
 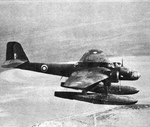 Heinkel He 115 from the right
 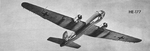 Heinkel He 177A-0 from below
 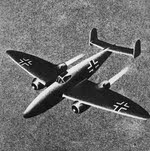 Sketch of Heinkel He 280
 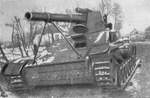 Hummel, damaged